Arduino IDE
Download the Arduino IDE 2.x.x
Visit Download Arduino IDE page.
Download the IDE for your OS version.

Note
Uploading code to the Arduino UNO R4 requires Arduino IDE version 2.2 or higher. If your version is older, please upgrade to the latest version.
Installation
Windows
Double click the
arduino-ide_xxxx.exefile to run the downloaded file.Read the License Agreement and agree it.

Choose installation options.

Choose install location. It is recommended that the software be installed on a drive other than the system drive.

Then Finish.

MacOS
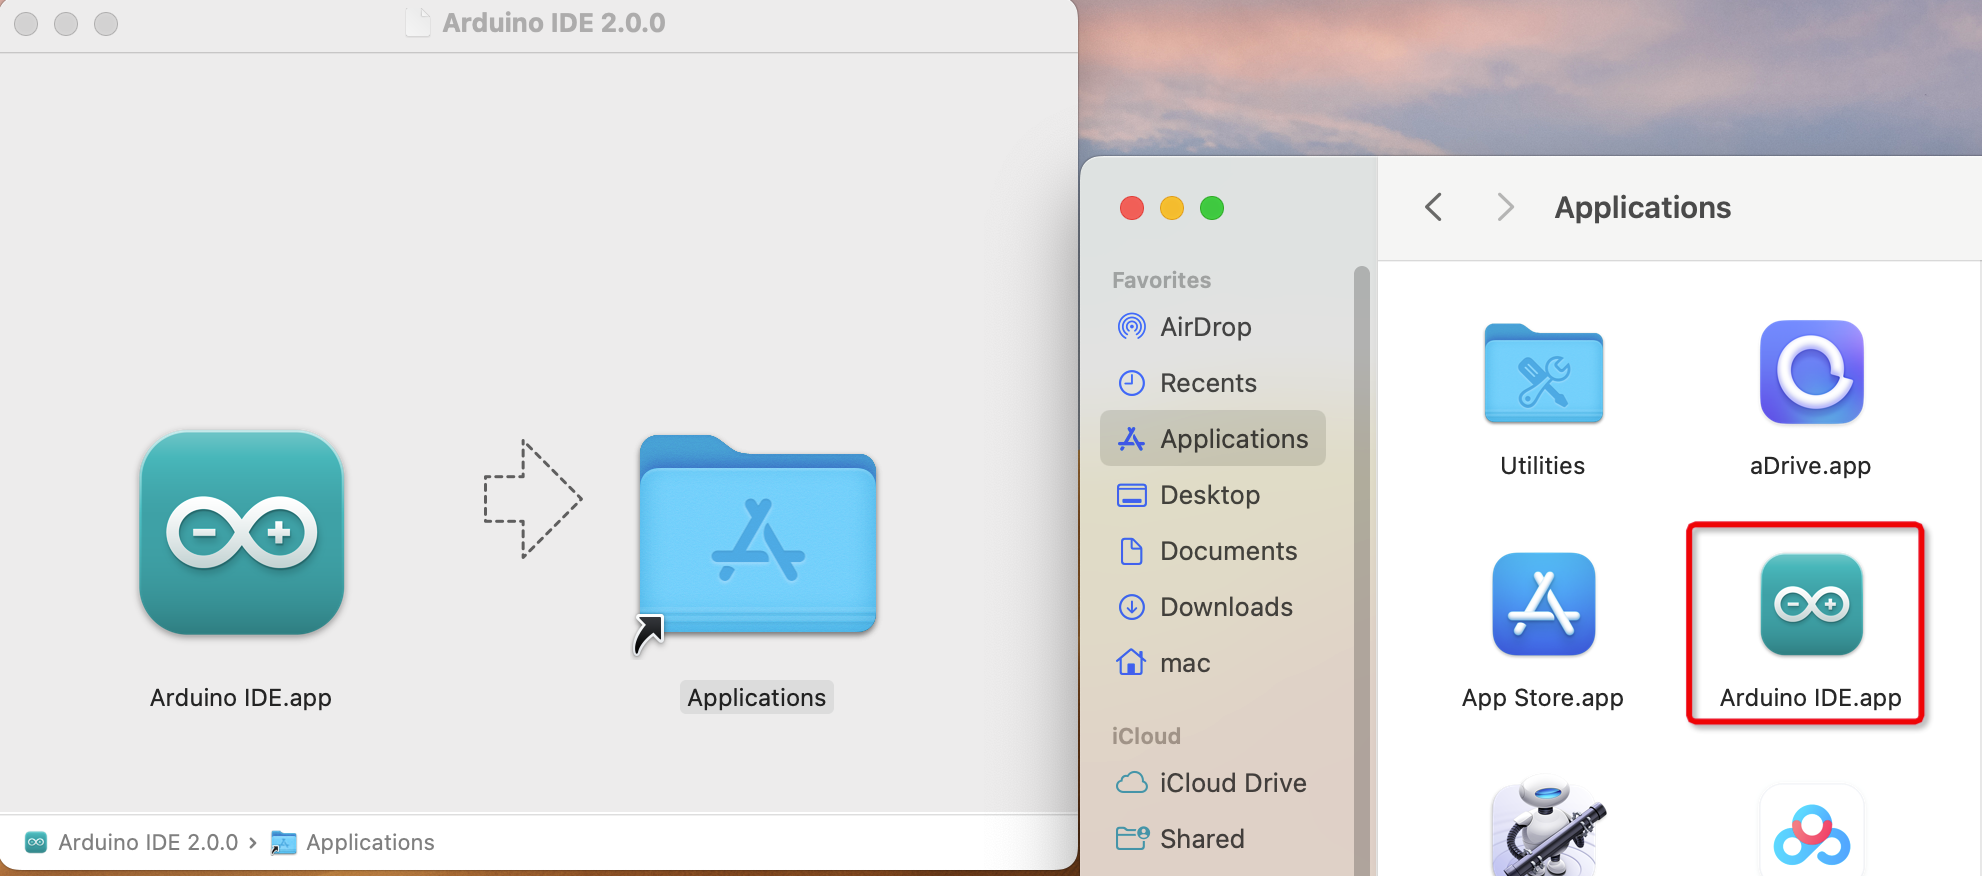
Double click on the downloaded arduino_ide_xxxx.dmg file and follow the
instructions to copy the Arduino IDE.app to the Applications folder, you will see the Arduino IDE installed successfully after a few seconds.
Linux
For the tutorial on installing the Arduino IDE 2.0 on a Linux system, please refer Linux-Install Arduino IDE
Open the IDE
When you first open Arduino IDE 2.0, it automatically installs the Arduino AVR Boards, built-in libraries, and other required files.

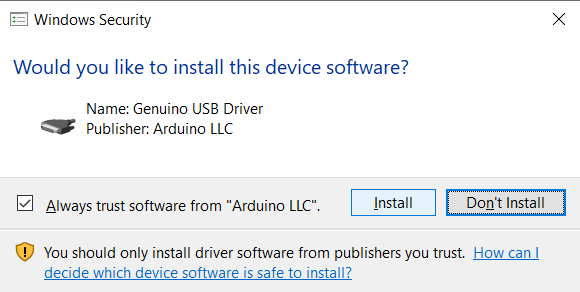
In addition, your firewall or security center may pop up a few times asking you if you want to install some device driver. Please install all of them.
Now your Arduino IDE is ready!
Note
In the event that some installations didn’t work due to network issues or other reasons, you can reopen the Arduino IDE and it will finish the rest of the installation. The Output window will not automatically open after all installations are complete unless you click Verify or Upload.
lnstall drivers windows
Next, we will cover the driver installation for the ESP32 Development Board. The driver installation may have some Differences between different computer systems. So, in what follows, let’s move on to driver installation on Windows systems.A computer connected by a USB cable. Before starting the Arduino software, you will install the USB driver. When you first connect the ESP32 Board to your computer, right-click the computer icon – >properties – >click Device Manager under other devices or USB-Serial ,you should see an”Unknown device” icon with a small yellow warning triangle. This is the device where we need to install the driver
lnstall cp2101 drivers windows (For ESP32_DEVKIT_V1_Board)
For more details refer to Install CP2101 drivers Windows page.
lnstall CH343 drivers windows (For ESP32_S3_Board)
Check whether CH343 has been installed ESP32-S3 uses CH343 to download codes. So before using it, we need to install CH343 driver in our computers.
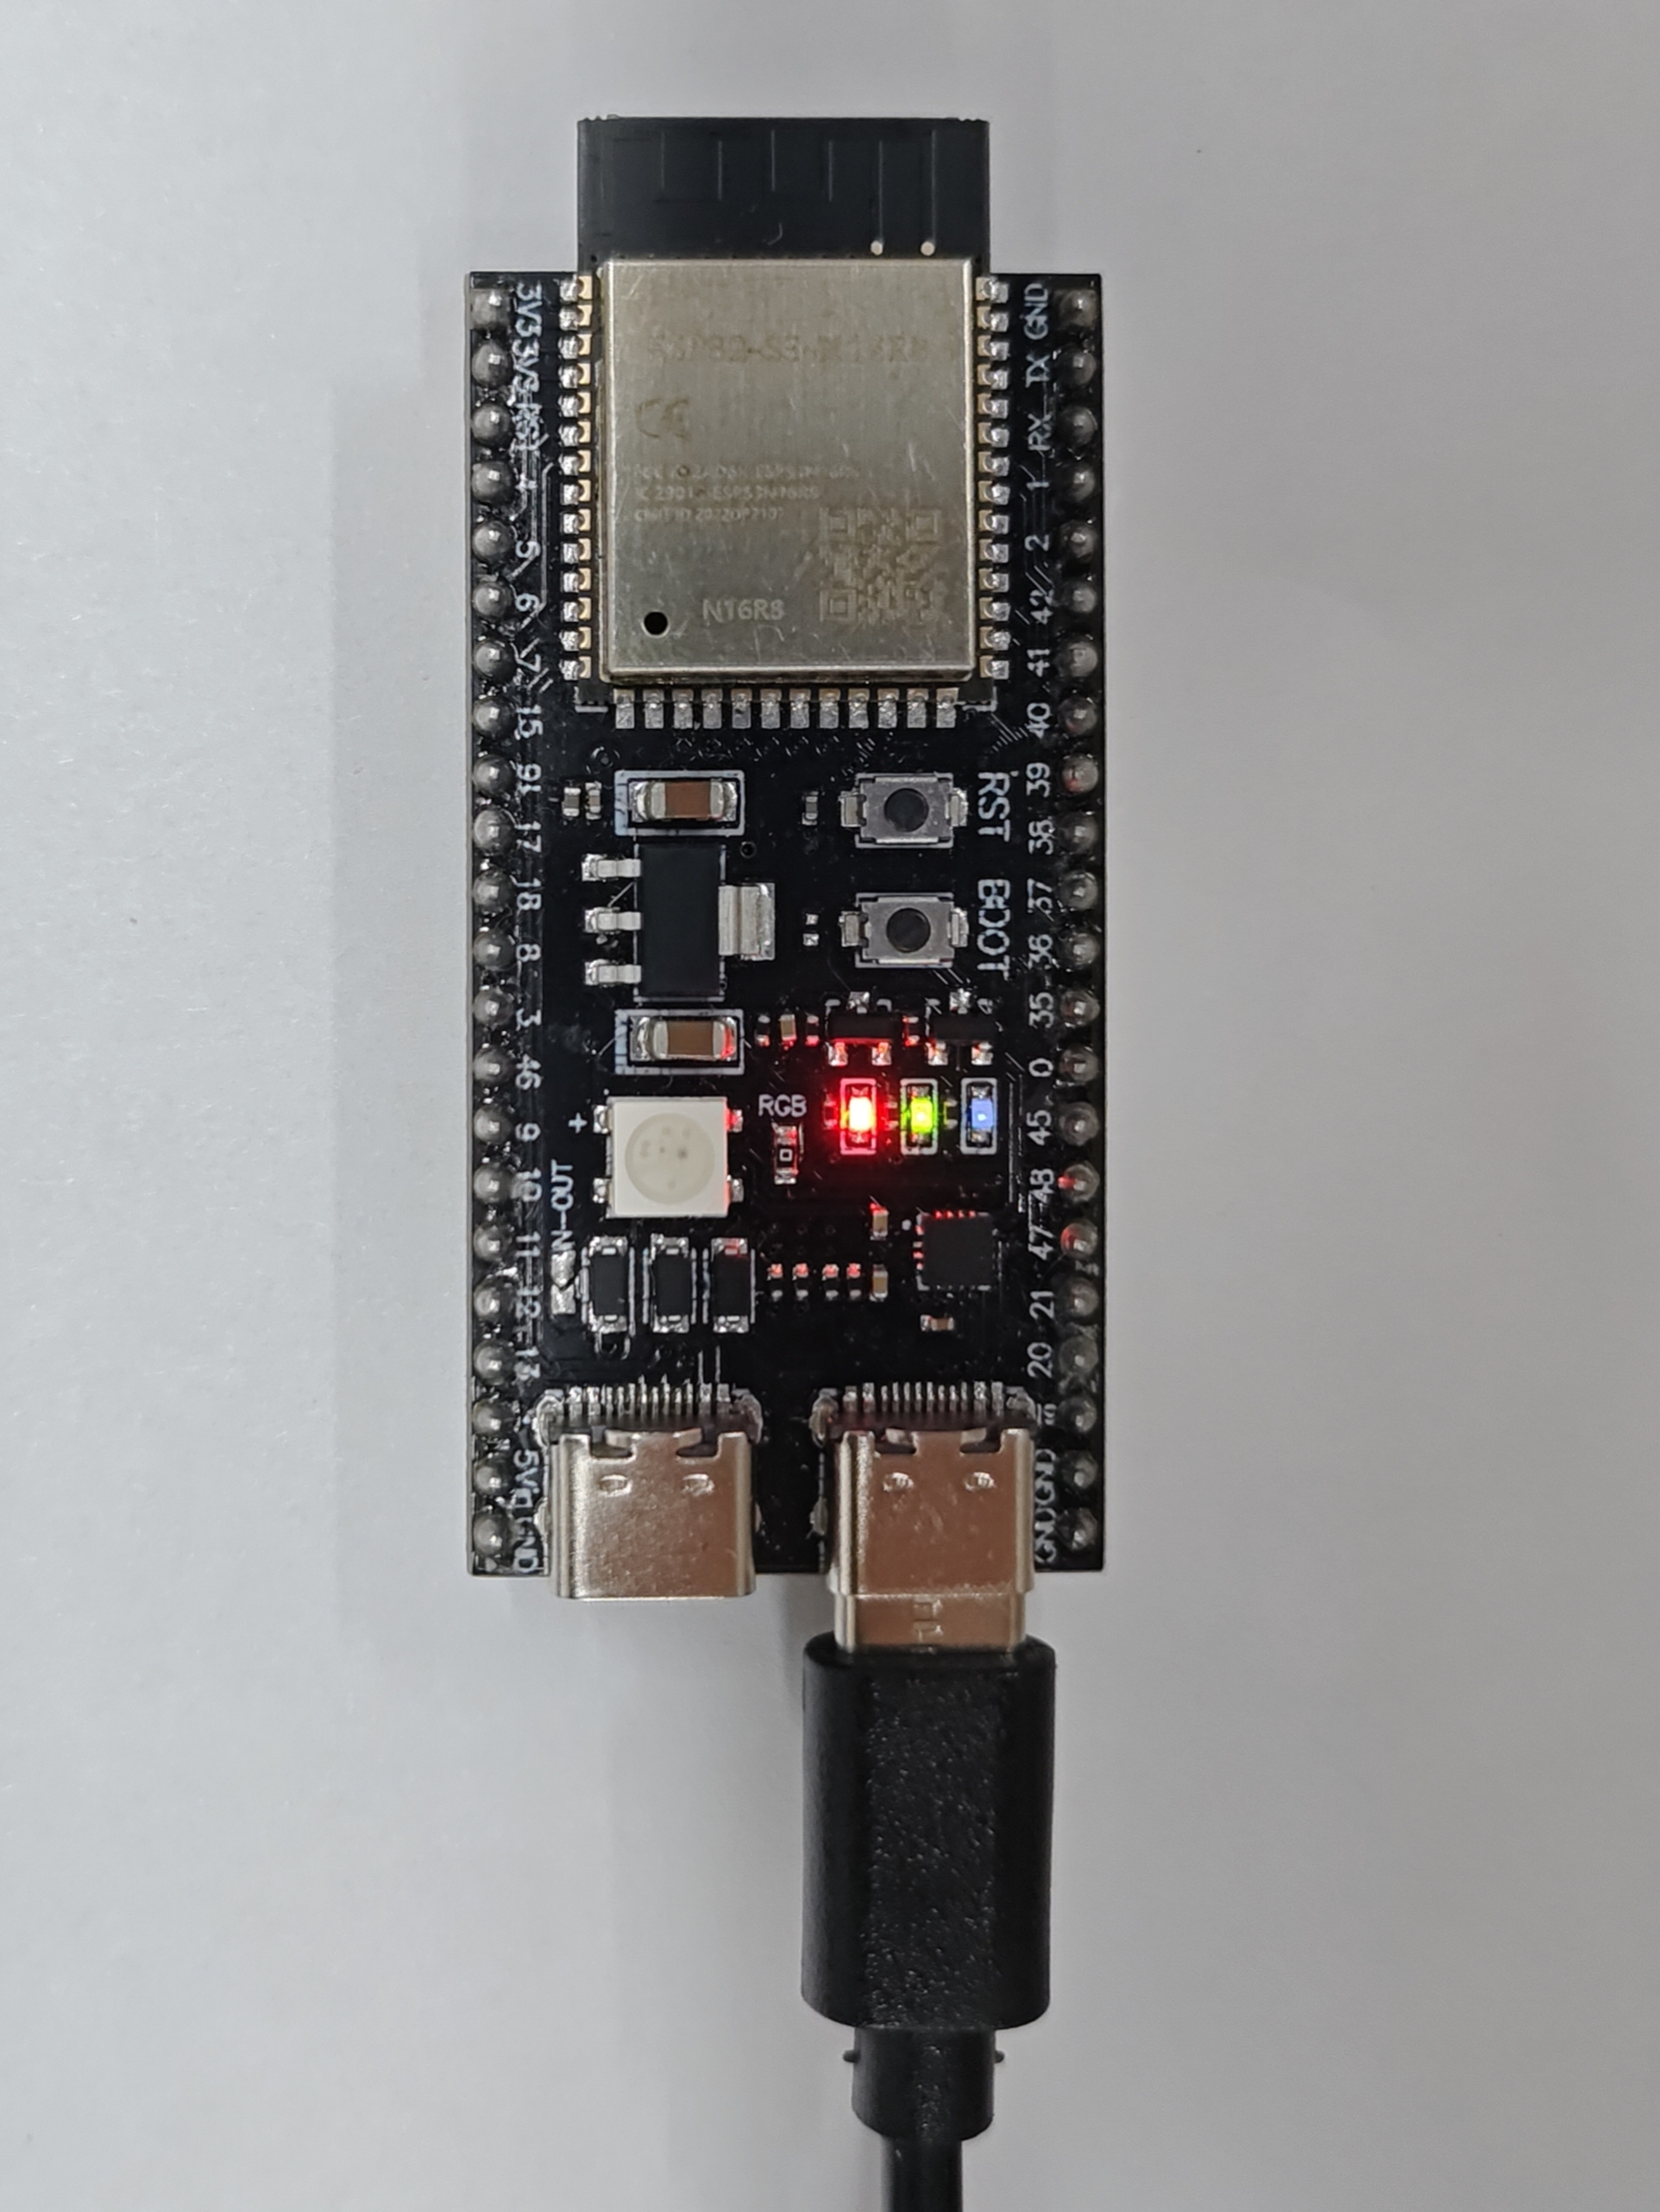
1.Connect your computer and ESP32-S3 with a USB cable
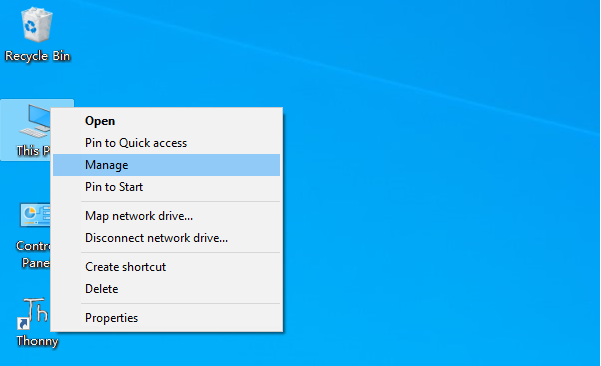
1. Turn to the main interface of your computer, select “This PC” and right-click to select “Manage”
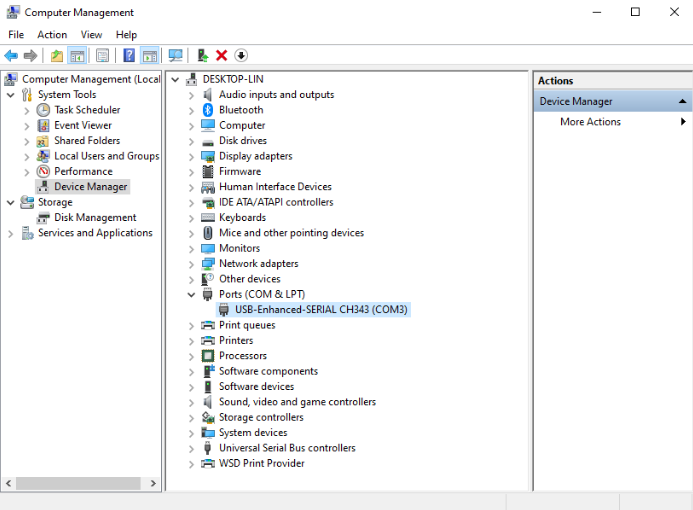
1. Click “Device Manager”. If your computer has installed CH343, you can see “USB -Enhances-SERIAL CH343 (COMx)”. And you can click here to move to the next step
Installing CH343
First, download CH343 driver, click HERE to download the appropriate one based on your operating system.
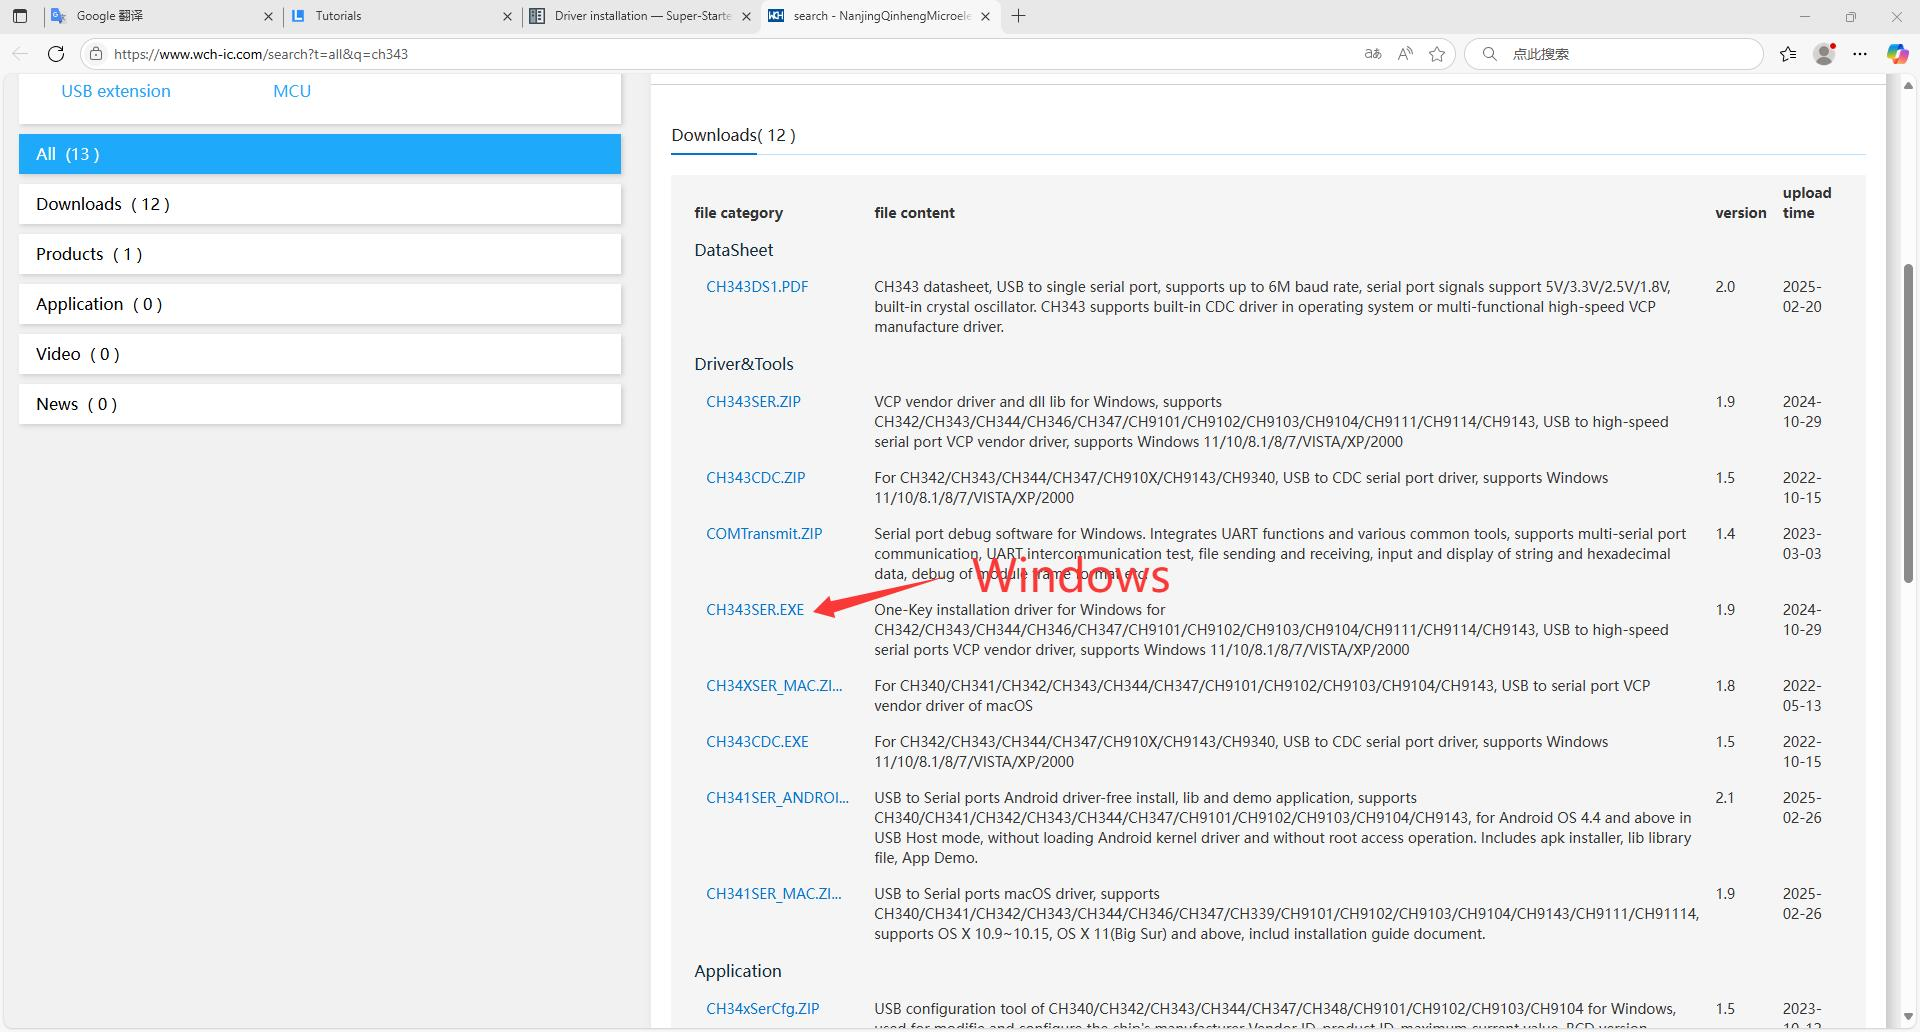
If you would not like to download the installation package, you can open “Breakout Board for ESP32/ESP32S3/Install CH343 drivers Windows”, we have prepared the installation package.

Open the folder “Breakout Board for ESP32/ESP32S3/Install CH343 drivers Windows/ Windows/”
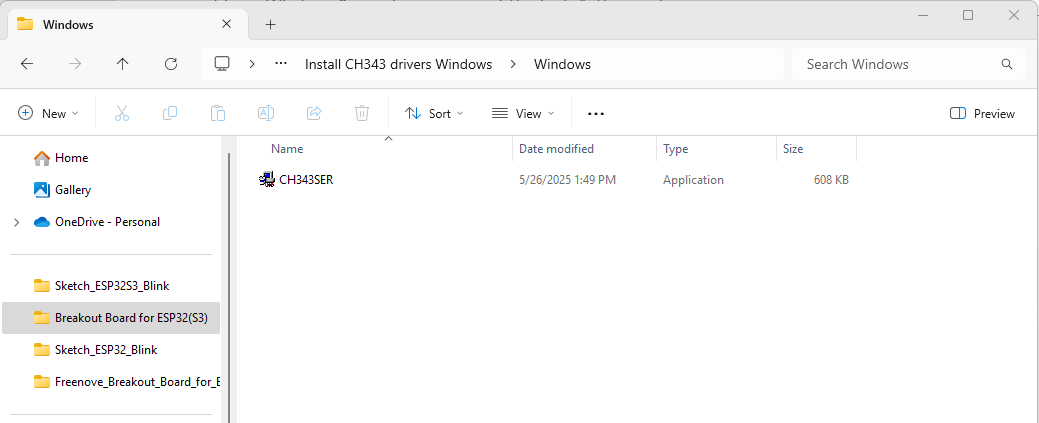
Double click “CH343SER.EXE”.
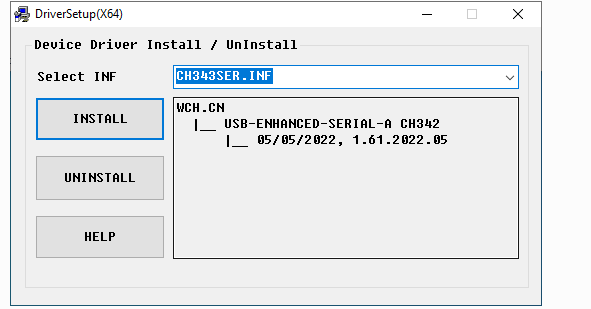
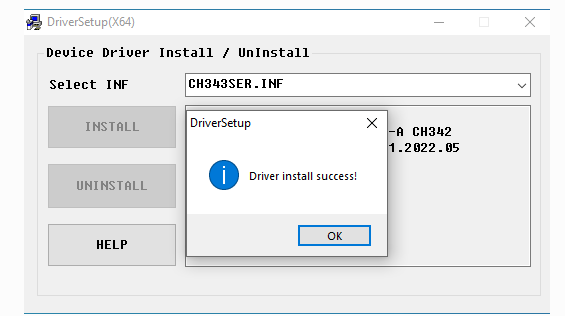
Click “INSTALL” and wait for the installation to complete.
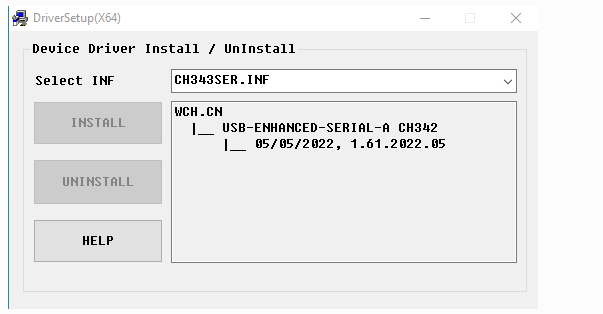
Install successfully. Close all interfaces.
When ESP32-S3 is connected to computer, select “This PC”, right-click to select “Manage” and click “Device Manager ” in the newly pop-up dialog box, and you can see the following interface.
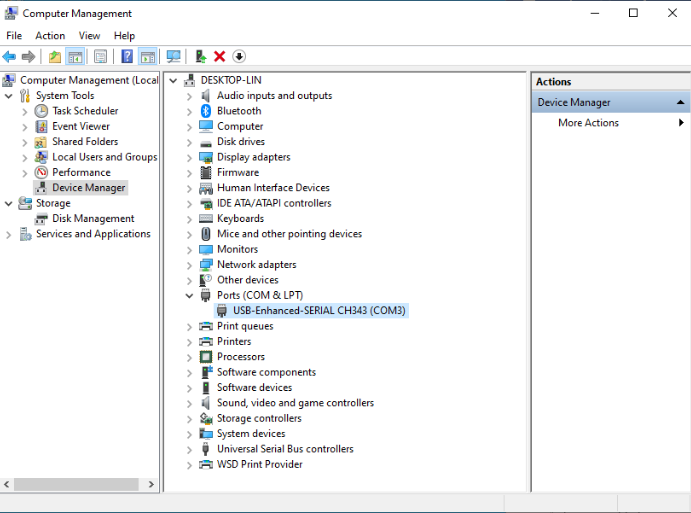
So far, CH343 has been installed successfully. Close all dialog boxes.
Installing ESP32 Add-on in Arduino IDE
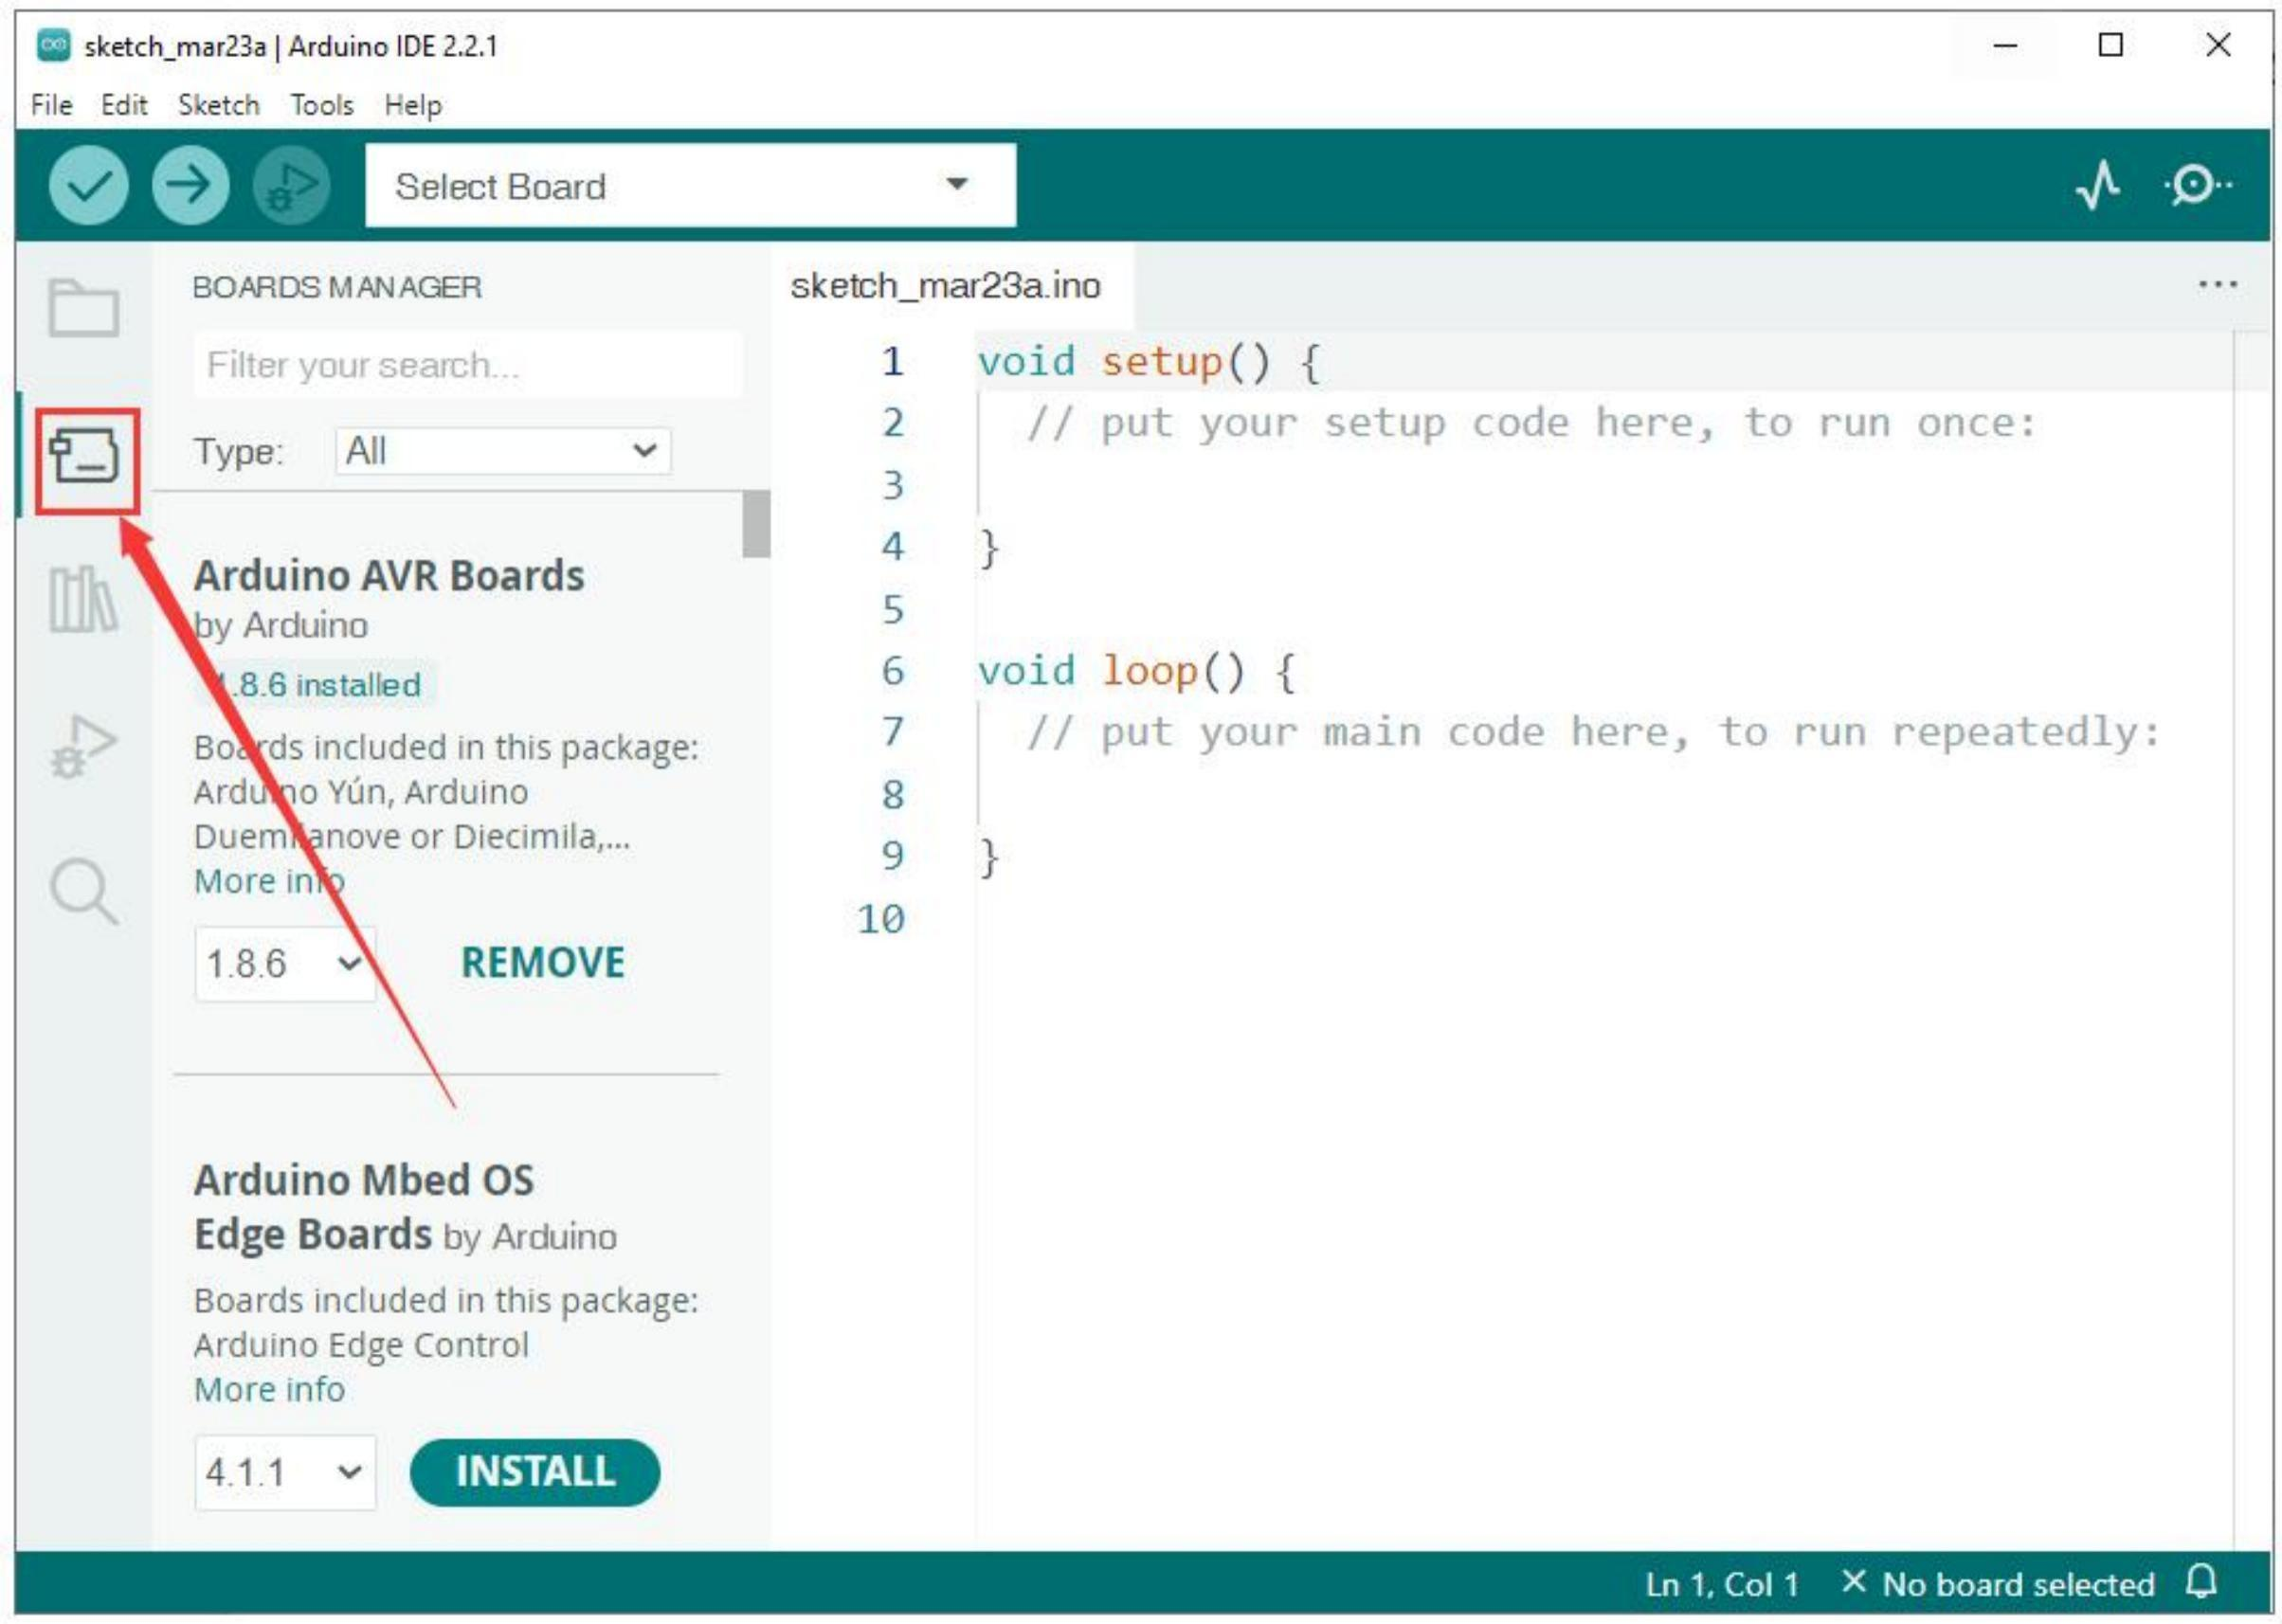
①Search for esp32 and select 3.2.0 click the INSTALL button for esp32 by Espressif Systems.

②Installing,this will take a while

③Successfully installed platform esp32:3 .2.0
